Our Top 5 Lightroom Tips for Wedding Photographers
Here at Modern Album Designs, we spend a LOT of time in front of Adobe Lightroom. And while we do love editing and post-processing your images, we want to be as efficient as possible when using Lightroom. Below are our top 5 tips for working efficiently with Adobe Lightroom.
Make your Lightroom workspace more organized by utilizing Solo Mode
Solo Mode is one of the most efficient and time saving features Adobe Lightroom has. If you haven't utilized this feature yet, it will indeed change your Lightroom workflow. Solo Mode is when only one panel is open at a certain time. When you click on another panel, the panel you were using before automatically closes. This is an amazing feature because you don't have to have several panels open at the same time and lessens the time of you going up and down all the panels.
To activate Solo Mode go to the dark grey area on either side of your panels, right click and then click Solo Mode. You would have to do this at every panel you want activated for its module specific. So if you want in your right Library Panel, right Develop Panel and left Develop panel, you'd have to activate it in all three.

Focus on your images clearly by using LR's Lights Out
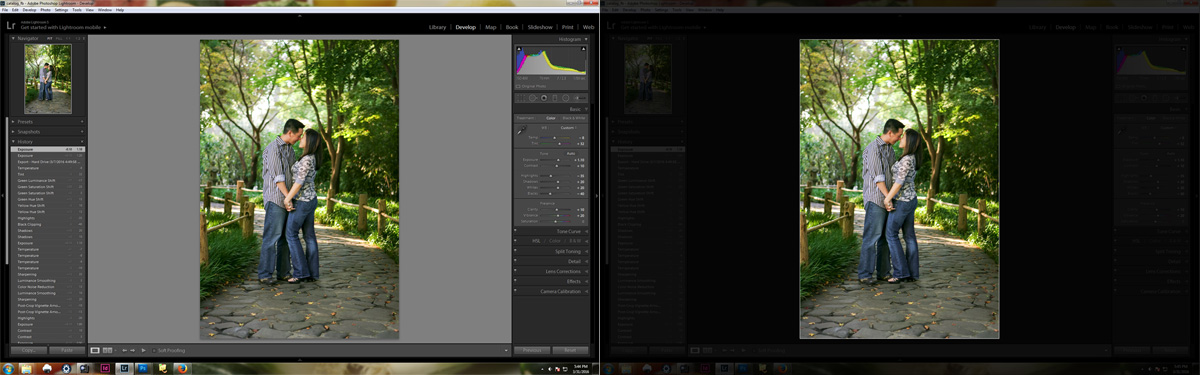
Have you ever edited a wedding for hours, took a break and come back looking at the photos and they seem a little cold or warmer than you thought they initially were? Well, you probably have been editing way too long and your eyes are too tired to distinguish colors clearly. This is where the Lights Out feature in Lightroom comes in.
Click L on your keyboard and you'll see the interface dimming. This allows you to focus on your images and not have the entire Lightroom interface distracting you. Click L one more time and it will be in complete Lights Out and black except for your images. To go back to Lights On mode, just click L for the third time and your interface will be back to normal.
To adjust the screen color or dimness setting for your Lights Out modes, go to Edit > Preferences > Interface for Windows and Lightroom > Preferences > Interface for Mac
Create intense blue skies and isolate colors by adjusting HSL settings
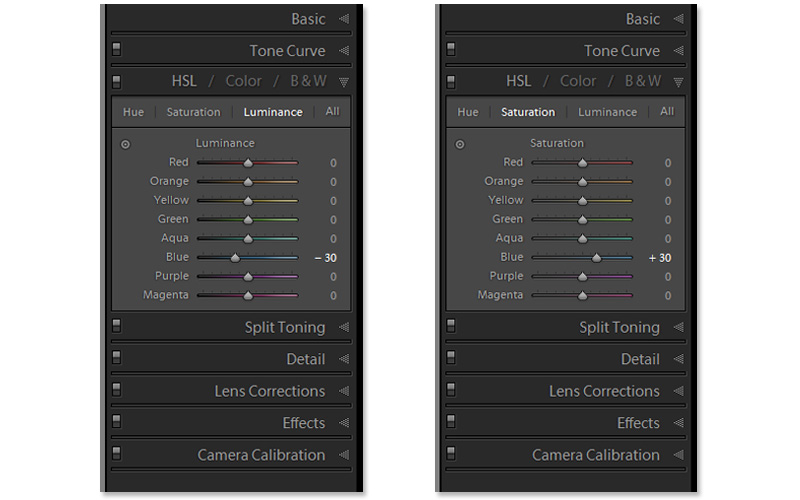
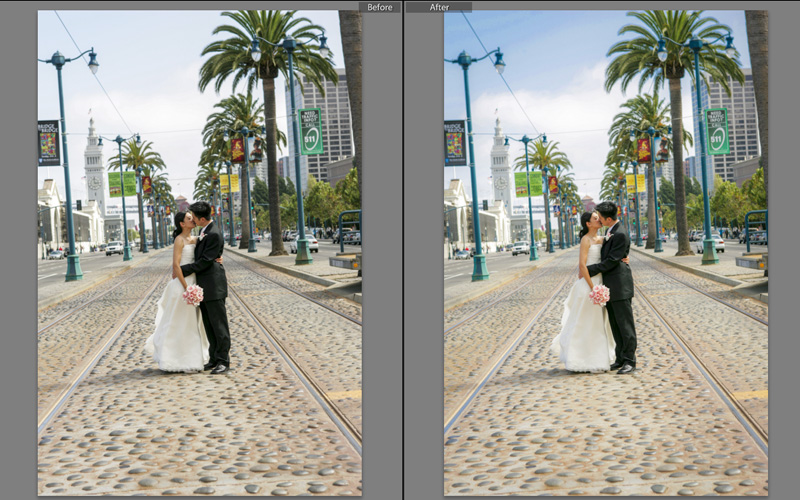
The HSL panel located on your Develop panel is a great way to isolate colors and change their hue, saturation and luminance. Today, we're going to show you how to intensify blue skies with the use of this panel.
First, head to the luminance tab. You will see a small circle button on the top left side. Click the button and point it the sky of your image. Then, click and drag your mouse down. You will automatically see the sky turning bluer. Next, click on the saturation tab and scroll over the blue sky again. Lastly, click and drag your mouse up this time to raise the saturation. Be careful and try not to overdo this as you don't want your images to look over processed. Another way is just by dragging the blue and/or aqua slider to your left. Then head over to the saturation tab and slide your blue and/or aqua slider to your right.
Sort By ISO to Apply Batch Noise Reduction
Applying noise reduction one by one is a very time consuming process. Another trick that we use here at Modern Album Designs is sorting images by ISO and applying noise reduction in one or several batches.
First, go to your library and click Metadata on your Library Filter. On any of the 4 columns, click any of the headers on top and then click ISO Speed. You will then see all the ISO speeds of the photos in your Lightroom Catalog. You can now select all the ISO speeds you want to apply the Noise Reduction by clicking the ISO while holding the Ctrl button. Then, select all the images, go to the Detail panel in your Develop module and apply the settings you want for sharpening and noise reduction. You may want to do this in batches for images shot in 800 ISO may not need as much Noise Reduction compared to an image shot in 6400 ISO.

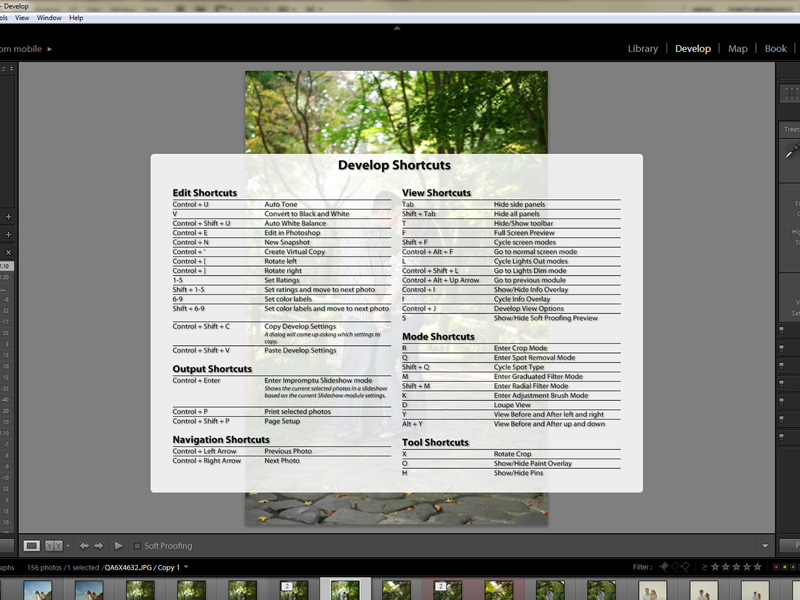
Use Lightroom's keyboard shortcuts
Lighroom has a lot of time saving shortcuts. You might not know this but every Lightroom module has a shortcut cheat sheet. Go to any of the modules then press Cmd + / (for Mac) & Ctrl + / (for PC) and you will see a list of shortcuts. Click one more time on your screen and the cheat sheet goes away.
Another tip to take advantage of Lightroom's shortcuts is to get yourself a Contour ShuttlePRO v2 and program the buttons with your favorite Lightroom functions. Trust us, this will speed up your editing time in half. Once you get a hang of this little device, you'll wonder how you've gone so long without it!

Solo Mode is one of the most efficient and time saving features Adobe Lightroom has. If you haven't utilized this feature yet, it will indeed change your Lightroom workflow. Solo Mode is when only one panel is open at a certain time. When you click on another panel, the panel you were using before automatically closes. This is an amazing feature because you don't have to have several panels open at the same time and lessens the time of you going up and down all the panels.
To activate Solo Mode go to the dark grey area on either side of your panels, right click and then click Solo Mode. You would have to do this at every panel you want activated for its module specific. So if you want in your right Library Panel, right Develop Panel and left Develop panel, you'd have to activate it in all three.
Applying noise reduction one by one is a very time consuming process. Another trick that we use here at Modern Album Designs is sorting images by ISO and applying noise reduction in one or several batches.
First, go to your library and click Metadata on your Library Filter. On any of the 4 columns, click any of the headers on top and then click ISO Speed. You will then see all the ISO speeds of the photos in your Lightroom Catalog. You can now select all the ISO speeds you want to apply the Noise Reduction by clicking the ISO while holding the Ctrl button. Then, select all the images, go to the Detail panel in your Develop module and apply the settings you want for sharpening and noise reduction. You may want to do this in batches for images shot in 800 ISO may not need as much Noise Reduction compared to an image shot in 6400 ISO.
Modern Album Designs, LLC provides wedding album designs, professional wedding albums, post-processing and retouching services for photographers.
Contact Us
100 S. Murphy Ave, Suite #103
Sunnyvale, California, 94086 USA
Phone: 1-888-693-4169
info@modernalbumdesigns.com
April 19, 2024 © All Rights Reserved. Terms of Service